by abduzeedo
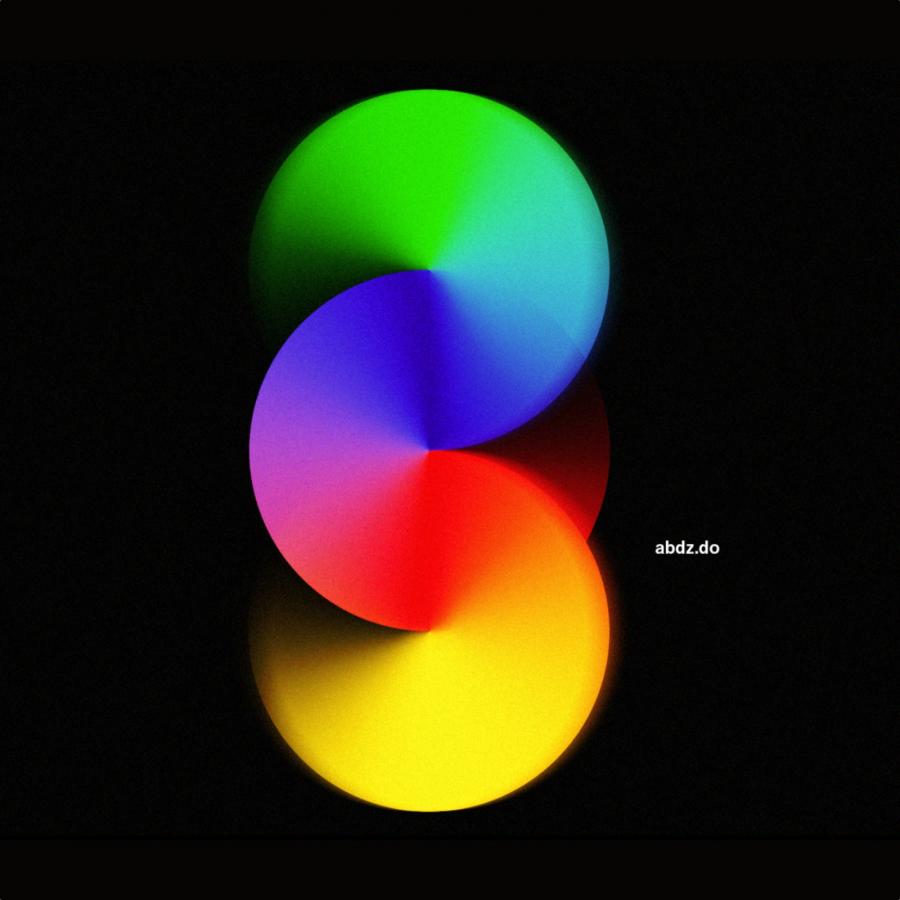
Another week and another image to be done and of course another Photoshop tutorial. The most difficult part is finding the inspiration point, this time, however, I knew exactly what my mission would be. This week's image is my attempt at recreating the beautiful Windows 10 wallpaper created by GMUNK. In no way or form am I trying to take credit that this is my design, I just wanted to see if it was possible to create something similar just in Photoshop. The result you can see after the break. I am very happy with the outcome and I will share a little step-by-step on how I did it.
Step 1
In Photoshop I started with a thicker version of the Abduzeedo logo in solid white. The background color also is important. I am using #101921

Step 2
After that I duplicated the logo and for the new copy I changed the opacity of the fill to 0 and added a stroke of 3 pixels in white. For the other solid one I just reduced the opacity to 30%.

Step 4
Here I just applied a perspective to match the Windows 10 logo style. Just go to Edit>Transform>Perspective. I also created a new folder and moved the layers inside it. In addition to that I changed the Blend Mode of the group to Color Dodge.

Step 5
Duplicate the layer with the stroke and go to Filter>Blur>Radial Blur. Use 100 for the Amount, Zoom for the Blur Method and Best for Quality.

Step 6
The layer might not be visible or it's very subtle. Here's the secret, start duplicate that layer until you have the effect visible. Merge all the duplicated layers.

Step 7
Apply the same Radial Blur to the merged layer. Repeat the same process again.

Step 8
After a lot of times repeating the process you will end up with something like the image below. It's pretty straight forward, just duplicating the same layer.

Step 9
Select the original layer with the stroke and duplicate it. After that change the stroke to a much thicker value. After that just create the layer from the layer style, add a layer mask to the layer and apply the Filter>Render>Clouds with black and white. The last thing to do to make some areas visible only, just change the Levels of the mask so you have just black and white.

Step 10
Here's when I started adding some flares, literally. I used an image from Shutterstock titled Abstract image of lighting flare by 21. I added 2 copies of the flare as you can see in the image below.

Step 11
Keeping with the details I used another Shutterstock image. This one is titled Abstract smoke moves on a black background by Vagengeim. The idea is to add that kind of fog/smoke effect you see in the original image.

Conclusion
To add the final details I simply created a new layer from a copy of all layers by using the shortcut, Command + Option + Shift + E. After that I apply a Gaussian Blur of 15 px radius. Duplicate the layer so you have 2. The one on top change the Blend Mode to Soft Light at 50% opacity. The other one use Screen at 70% opacity. That's it, the image is done. It looks much more complicated than it really is and of course the incredible image created for the Windows 10 was done with real photography and light coming from behind the symbol.

Download Photoshop file
