by abduzeedo
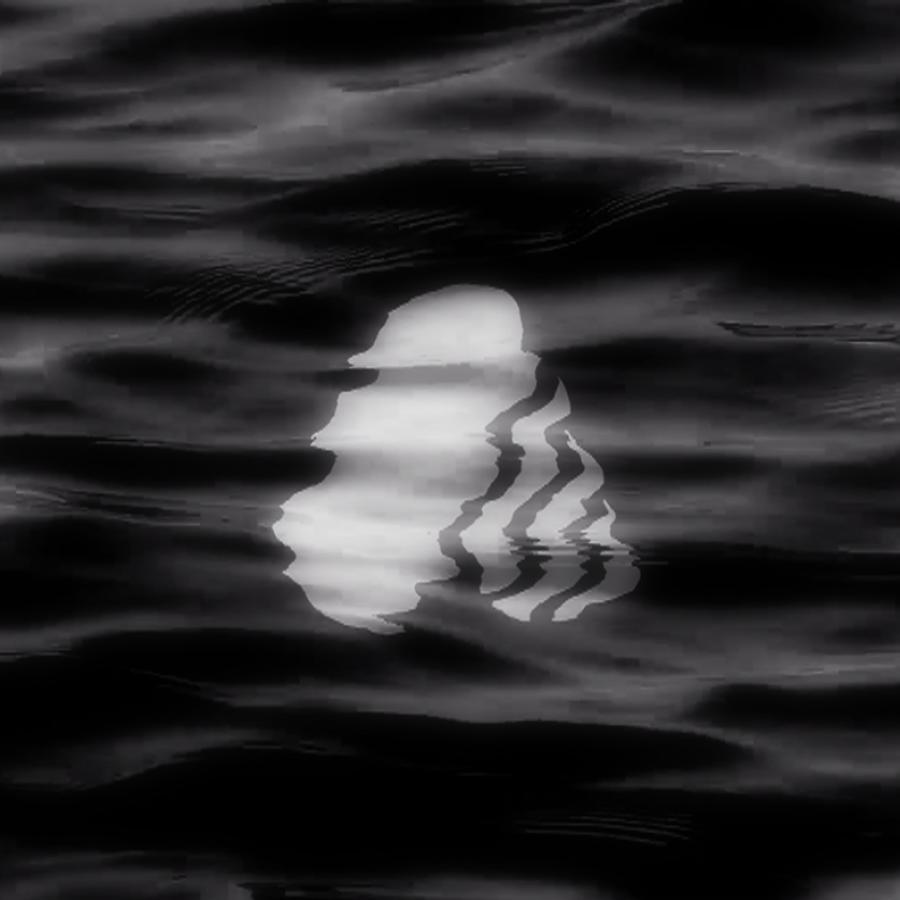
This weekend I was waiting for my flight sitting at the airport with no internet and decided to create a new wallpaper for Abduzeedo. I started in Photoshop, but then I decided to play a little bit with Pixelmator. After 1 hour and lots of experimenting the final result looked really nice and that's what I want to share with you in this tutorial.
So in this tutorial I will show you how to create an abstract image using Pixelmator. The process is super simple and it won't take more than 30 minutes for you to achieve the same result.
Step 1
Open Pixelmator and create a new document, I am using 2880x1800 pixels for the dimensions.

Step 2
Fill the background layer with black, and then add a new layer. Fill it with black as well and the go to the Effects Panel and select Light Leaks.

Step 3
Select Nebula for the Light Leak.

Step 4
Increase the size of the effect by moving the controllers

Step 5
Back to the Effects panel, select the Tiles option. Then select Bug Eye. Move the center point up a little bit. You can also play with the values to change the preset the way you think will look better.


Conclusion
This technique is super simple but you can put together a really nice wallpaper, it works really well with photos and others colorful background colors. Now it's up to you, just experiment and have fun.


